
Cembrit a.s. presents a new product for this year in the area of ventilated facades. This is a system for hidden fastening of fiber cement facade panels - Cembrit Flow System.
Cembrit Flow System - a revolution in the field of hidden anchoring of façade panels
Publisher
Pavlína Drbálková
23.04.2012 10:15
Pavlína Drbálková
23.04.2012 10:15
The Cembrit Flow System encompasses all the additional benefits of façades made from fiber-cement boards, which include:
• high lifespan of the façade
• year-round installation on any substrate
• color variety with a natural appearance of the façade
• low maintenance requirements
• thermal and sound insulation of the façade
• non-flammability
• health safety
Cembrit Flow System
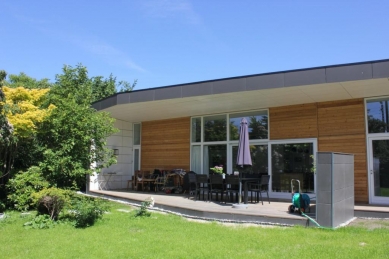
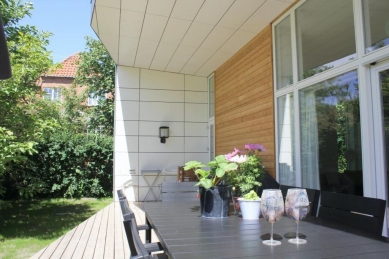
It is a fully resolved prefabricated system consisting of specially modified fiber-cement boards, aluminum profiles, and accessories, allowing the creation of lightweight, ventilated façades without visible screws. The entire system is compatible with standard profiles for reveals and corner profiles from Cembrit.
The Cembrit Flow System is available in all 49 shades of façade boards from the URBANNATURE series. For installation using the Cembrit Flow System, the façade boards are manufactured in two basic modular sizes: 300 x 1200 mm and 600 x 1200 mm. Thanks to easy cutting of façade boards directly on-site, absolute adaptability to your project is ensured.
• high lifespan of the façade
• year-round installation on any substrate
• color variety with a natural appearance of the façade
• low maintenance requirements
• thermal and sound insulation of the façade
• non-flammability
• health safety
Cembrit Flow System
It is a fully resolved prefabricated system consisting of specially modified fiber-cement boards, aluminum profiles, and accessories, allowing the creation of lightweight, ventilated façades without visible screws. The entire system is compatible with standard profiles for reveals and corner profiles from Cembrit.
The Cembrit Flow System is available in all 49 shades of façade boards from the URBANNATURE series. For installation using the Cembrit Flow System, the façade boards are manufactured in two basic modular sizes: 300 x 1200 mm and 600 x 1200 mm. Thanks to easy cutting of façade boards directly on-site, absolute adaptability to your project is ensured.
 |
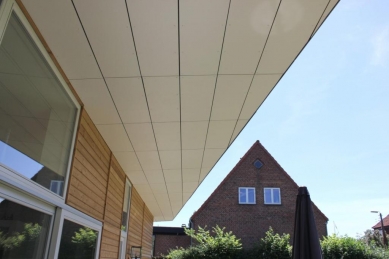
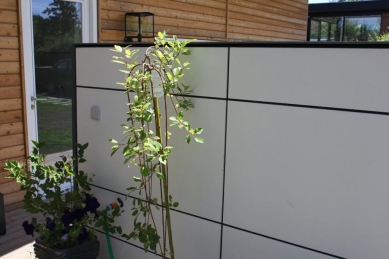
| Cembrit Flow System allows for the creation of smooth modern façades without intrusive anchoring elements. By installing this system along with boards from the URBANNATURE series, we achieve a successful and aesthetically unique façade. |
Installation in 5 Steps
1. Installation of the base grid
The Cembrit Flow System can be anchored to all types of base grids.
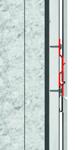
In the location of the visible vertical joint, a UV tape with a thickness of 50 mm must be glued. The center distance of the supporting grid is 600 mm.
 |
In the location of the visible vertical joint, a UV tape with a thickness of 50 mm must be glued. The center distance of the supporting grid is 600 mm.
2. First row of supporting profiles
 |
3. Installation of the façade board
 |
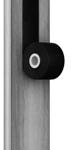
4. Attachment of the upper profile
 |
5. Installation of additional profiles and boards
 |
The English translation is powered by AI tool. Switch to Czech to view the original text source.


0 comments
add comment